If you've stumbled across this page amongst our many thread guides, Brother machine reviews, or are in search of a guide that informs you on how to properly and correctly thread a Brother sewing machine, you're in the right place.
Brother are an expensive machine option for a reason- they're most certainly feature-rich and high quality, but equally as difficult to use and master. You can get so many types too, from embroidery machines to commercial or industrial sewing machine models. Learning to thread these machines for sewing machine users can be difficult at first... particularly when it comes to using their iconic automatic needle threader!
Brother sewing machines (computerized machines or not) often have manuals included. These can be a little confusing though, so stay tuned through this guide for an easy, comprehensive directory on how to: thread the upper thread through the needle, how to install the bobbin, and how to thread your bobbin into the Brother machine.
Step number one is to wind the bobbin. This is the first and foremost step straight after unboxing your machine.
The first step to doing this is by completely pulling the spool pin all the way out or up from the machine. Then, place the thread spool on it.
Some machines will have a horizontal spindle, in which case, you'll need to utilise a spool cap and place the cap over it. Vertical spindles on machines won't require the use of a spool cap, so don't worry if your Brother embroidery machines/sewing machines have a vertical one.
We have a vertical spindle machine, so we put the thread where it usually pulls from the left, behind.
Now, you'll want to pull the end of the thread out and pass it around the pre-tension disk. This will usually be situated on the machine body's left side. Simply go under the thread tension disc, and around it, in an anti-clockwise direction.
When the thread slips under the disk, you'll be able to feel it.
Now, put your bobbin on the bobbin-winding shaft. This is the little pole sticking out of the top of the machine, usually. The bobbin groove should slide against and in-line with the bobbin winding shaft's spring. If you've aligned it correctly, the bobbin will usually click into place. Slide the bobbin winding shaft to your right in order to click it into place.
The next steps depend on what kind of Brother sewing machine you have.
Some Brother machines will have something called a fast-bobbin winding system integrated. This is common in a commercial machine, high speed machines, or Brother heavy-duty sewing machines.
For this, you will need to hold the end of the thread using your left hand, while grasping and wrapping the free end of your thread around your right hand. You'll have to spin it clockwise for at least three to four times.
Next, manually pass your thread through the bobbin seat's base, and trim the excess thread.
To finally wind the bobbin, depress your presser foot all the way to the bottom. Or, use your on/off button. Slide your speed control lever or slider all the way to the right, and watch your bobbin spin away!
You'll start to feel tension, or see it slow down when it's nearly full. Some models have sewing machine tension issues that may arise later in ownership, so they feature an auto-shutoff function for when the bobbin is full. You can take your foot off the foot pedal (if you chose to use a foot pedal), or press STOP.
In the case of owning a machine without the fast-bobbin winding system, you'll need to insert one end of the thread into one of the bobbin holes.
Turn on your machine either by pressing the stop/start button, or activating the presser foot pressing down on the presser foot and holding the end of your thread.
A low foot pressure applied on the presser foot, or the slowest speed on the slider will help make it easier and fuss-free. Wind the thread by slowly applying more pressure to your pressure foot controller pedal/gradually moving the slider to help wind the bobbin quicker.
Clip your excess thread and slide the bobbin-winding pin back to the far left. You may now remove your bobbin entirely to ensure that the winding is even and tight.
You've threaded your bobbin, great!
Now, we've got to install the bobbin. New Brother machines have a quick-set bobbin system to make this even easier, or they have have something called top-drop bobbins. These are all designed to make it easier for bobbin installation.
First- turn your machine off, and raise the needle position to the maximum (highest). You can achieve this by tunring a turning-wheel or dial towards you, or a needle up/down button (on newer machines). You'll need to also raise the presser foot.
Now, press the button near the bobbin cover to open it. Remove the bobbin cover. Next, drop the bobbin in! You need to make sure there's some thread coming out of the bobbin, rather than the bottom.
Your machine should have instructions or directions on the machine base in the form of a diagram. When pulled, the thread will cause the bobbin to unwind anti-clockwise.
Now, feed the thread end through the bottom-based split and pull it around to cut. Make sure the thread is inserted correctly via the tension spring (on the bobbin case), in order to maintain correct bobbin tension.
You can now put the bobbin cover case back on, making sure that the left tab is situated under the bobbin base cover, and the right-most side clicks into place.
Now that you've correctly set the lower bobbin thread, you have to thread the upper bobbin thread.
Ensure that your machine remains switched off, the presser foot remains lifted or elevated, and the needle positioning is maintained at the highest position. This will prevent sewing machine tension issues. Your thread spool needs to remain on the spool pin.
Simply feed the thread through the built-in guide- into the "feed dog", which is an L-shaped contraption hidden in the machine. Usually, there would be a lever that exposes it. Guide the thread from backwards to forth.
Now, pull and pass your thread fully through the guides imprinted, as well as the U-shaped tension discs. Keep the guiding from right to left. Usually, your machine will have printed arrows to make sure you know which way to go.
Near the far-top-left, you should find a thread take-up lever. You have to make sure your thread enters the lever. Now, you have to wrap the thread around the take-up lever. This is usually a metal hook near the needle base. At the back, there should be a small opening for you to fit the thread through.
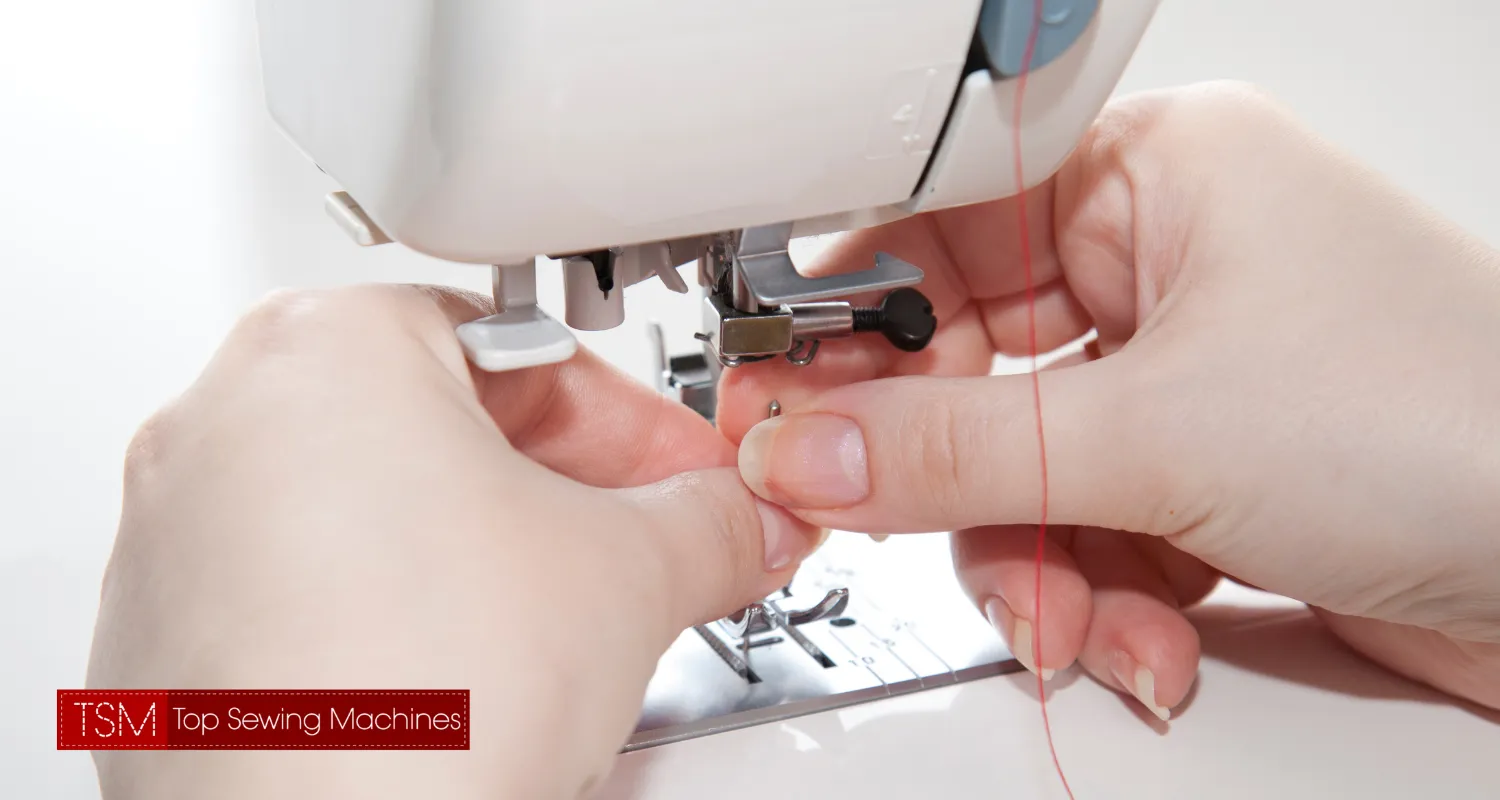
Lastly, you'll want to thread the needle's eye from front to back, pulling the thread a few inches beyond the needle to give you some leverage. An automatic needle threader will make this whole process much easier.
Automatic needle threaders sure sound convenient, but if you're new to the sewing game, they may not be a great idea. They're not quite reliable or easy to use, especially when you're new.
If you have an automatic needle threader, read the above steps until you reach the part where we thread through the needle's eye. Jump back to this section for your next instructions:
Lower your presser foot with the help of the lever. You can use this to lower the needle threading lever to around about, halfway. You can now hook the thread onto the machine guide. The guide should be a triangular, upside-down V. The thread needs to guide from the top right, below/under the V-guide, and then the right. It's like anti-clockwise threading.
Next, completely lower the needle. The hook should pass the needle's eye- while the threader rotates in the direction towards you.
The larger hook should now be in the needle eye, and within it should be a smaller hook. If you pull the thread back into the big hook, you should be able to catch it onto the smaller one. A tip to get this done quicker is to run the thread along the rear of the guide, from bottom to top- using your hands.
Make sure you're securely holding the thread's free end! You may now release the needle threading lever, and watch it rotate back. The thread will magically be pulled through the needle eye. We recommend pulling the thread out a further few inches before sewing for extra security and leverage.