Knowing how to carry out your own amendments on garments and other fabrics is essential- it saves you a lot of time, money, and sentiments. You won't need to spend ages trying to find a seamstress local enough to do it for you as soon as possible, you won't need to throw the item away and get yourself a new one, and you can hold onto it without having to let go of sentimental value!
If you don't have a sewing machine (or have never been in contact with a needle other than your hospital visits), making amendments to, or hemming your own trousers seems pretty unfeasible.
In this post, we're going to guide you on the correct method of hemming your own trousers at home- no sewing machine required!
BEFORE STARTING: We recommend using a thread colour close to, or (if possible) identical to the fabric you're working with. This will give a seamless, invisible finish.
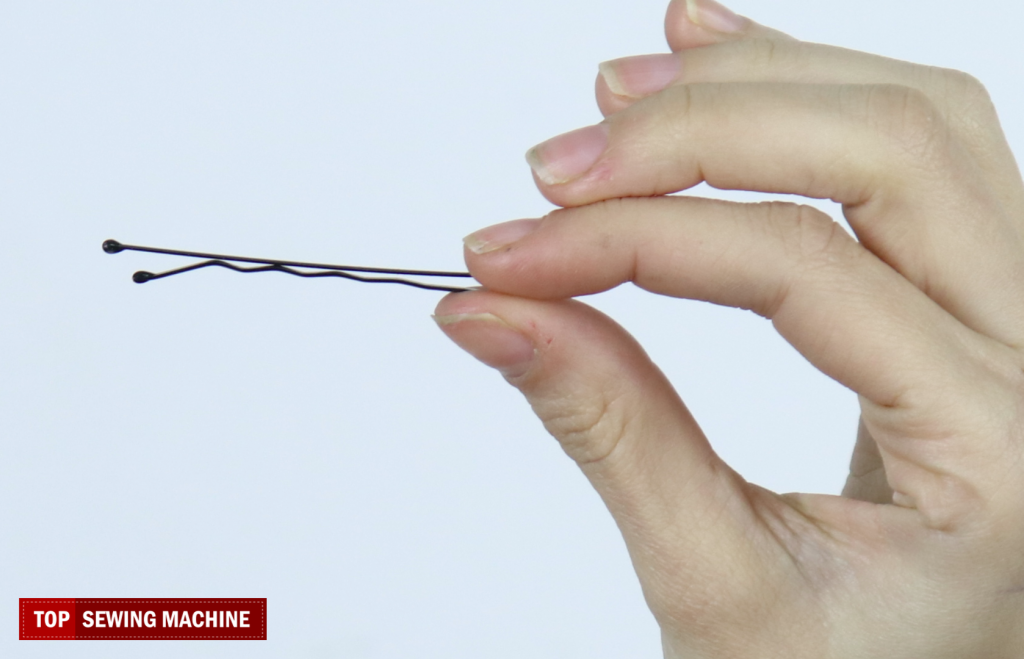
You'll need to grab a bobby pin for this. Bobby pins are those ones you often find stuck in your grandma's sofa pillows- they have a little ball at the end of them to help you pull them out.
You'll need to fold inwards the edge of your trouser leg to the length that you would like. This is often a method used by people for length alteration. Just fold it inwards and pick whether you want it below-ankle, ankle-length, or above-ankle.
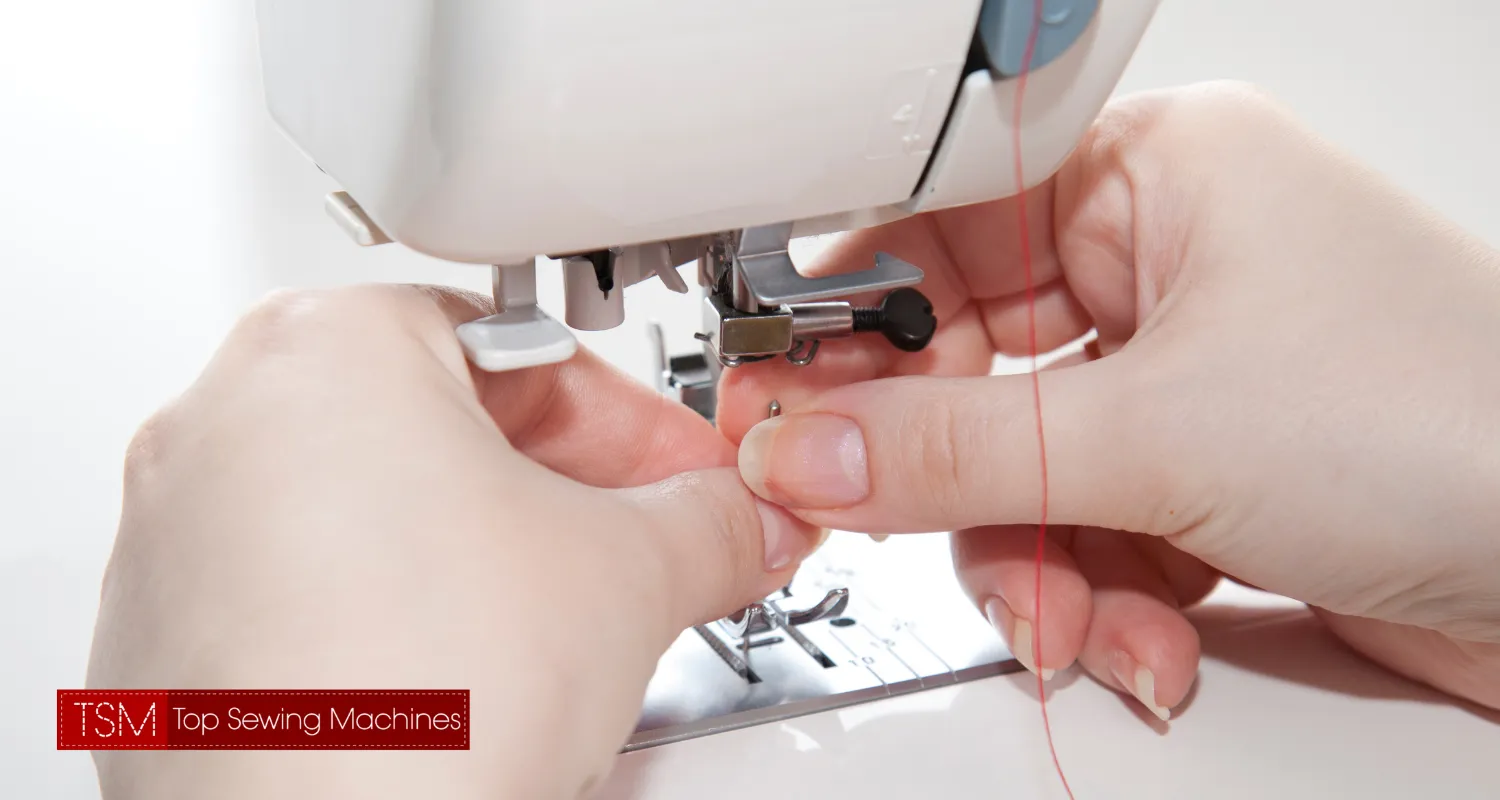
Once folded to your desired length, thread some pins through the fabric to hold it in place. This bit is quite tricky, but one way to make it easier is to try and weave the pin in and out of the fabric horizontally. This will ensure that the grip is tight, and you won't have to use too many pins.
Next, you'll want to remove the pins and snip horizontally, cutting off all fabric greater than about half an inch below the crease. If you're making minor length adjustments, this step will likely not be applicable to you- so just omit it entirely.
The type of scissors you use for this job is important. You need to use special fabric scissors, which are extremely sharp. Always handle these with care, and keep them on a high shelf as far away as possible from pets and children.
Fabric scissors are large, brass/metal scissors with a long of finger room. The blades are also heavier and sharper than normal scissors, making it optimal for cutting through fabric while ensuring that there is no fraying or thread-pulling.
Next, you'll want to seal the edges that you just cut. We suggest using a fray-blocker / fray check to do this. A good option is this one from Amazon, or as an even more affordable option, this product from The Sewing Studio (also available on EBay).
Simply spread the product across the edges of the cut fabric to prevent splaying and fraying, which can reduce the quality of the cloth.
Now the tricky part, should we say- it really isn't that difficult when broken down into simple, easy-to-follow steps. If you're worried about accidentally micro-stabbing yourself with the needle, try and pick a rubber finger protector to help you sew with more comfort.
You'll want to thread the needle. Do this by looping the thread through your needle hole, and folding it in half, making the two loose ends meet.
If you haven't pre-cut your thread already, do so now by snipping off a good length. We recommend snipping a lot more than you think you'll need- because having to repeat the process again is a hassle if you find yourself short on thread. Tie a knot to secure the two loose ends.
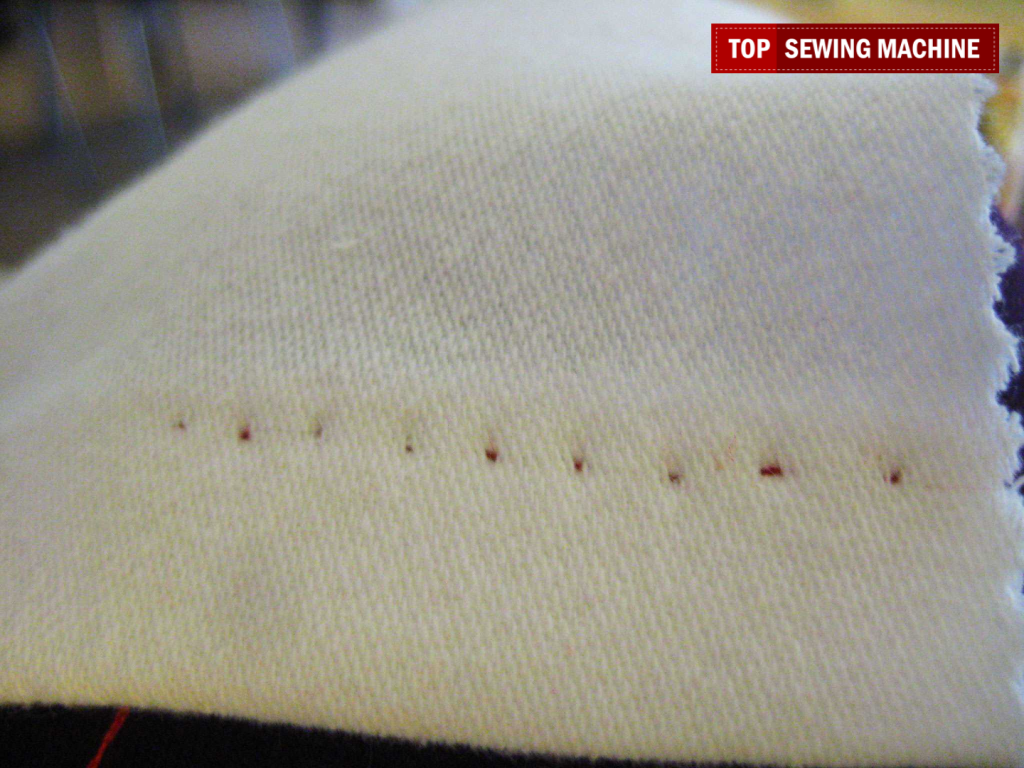
Now, puncture the fabric from the inside of the trouser and pull through- the knot should stop your thread from pulling through completely. The knot should be visible on the inside of the trouser leg, so make sure you insert from the inside.
Puncture the fabric about half a centimetre next to the spot your needle just exited, and pull through. You've completed one stitch. Repeat the steps, with each puncture situated about half a centimetre apart from each other. The closer you make the gaps, the stronger and more durable your stitch will be.
Keep going until the entire circumference of the leg is completed.
Try to finish the stitches with your needle inside the leg, but if it isn't; don't worry. Tie a knot as close as possible to the inner fabric surface, and chop off the excess thread (past the knot).
You can go ahead and add any last touch-ups now.
We suggest ironing the crease once more to give the garments a more polished-up look. You can also go ahead and add some embroidery, patches, or motifs to the legs too!
Take a look at the other articles on our site, where we test out, compare, and recommend the different options for sewing machines and embroidery/quilting machines on the market.