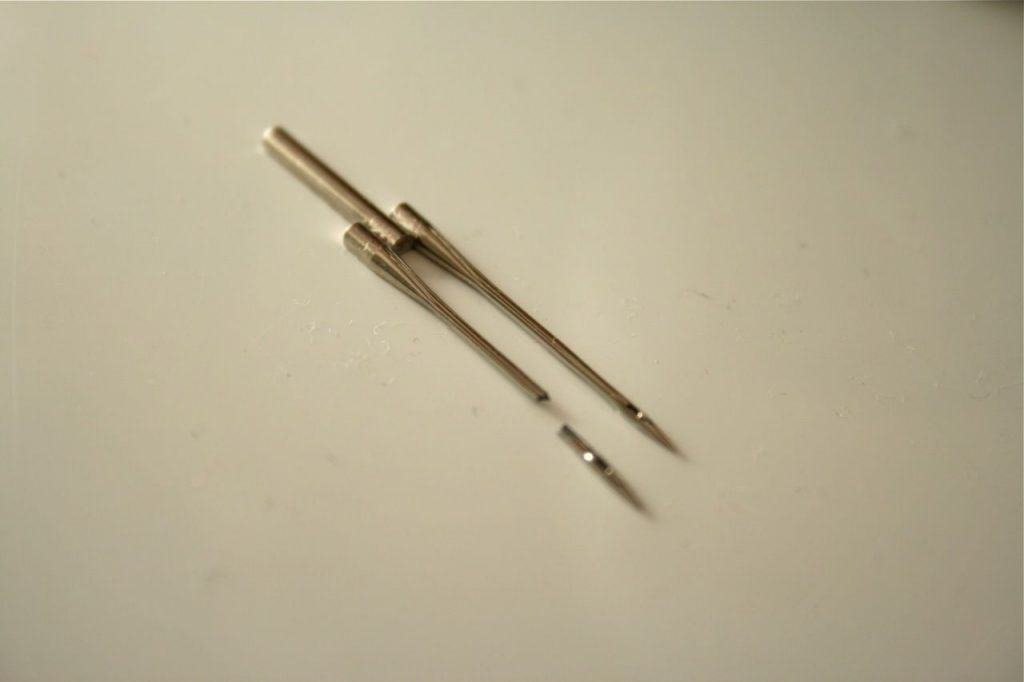
How maddening is it when you’re midway through a sewing project and you’re faced with the jarring experience of your needle snapping? If this has ever happened to you, you’ll know how aggravating it can be. But what are the reasons behind needles breaking?

A sewing machine needle breaking is frustrating for several reasons.
Firstly, the abrupt pause caused by a needle breaking while you’re sewing can completely throw you off your game, impeding your productivity and creativity. Secondly, it then takes time to remove the broken needle and replace it, further removing you from your work. And thirdly, it can be costly if it happens too often – the only needles that grow on trees are pine needles (I’ll show myself the door)!
There are a few different reasons why a sewing machine needle might break, and knowing what these reasons are will help you to avoid them, preserving your needles for longer as well as preserving your sanity and your budget.
The reasons why a needle on your sewing machine breaks mid-project can be split into two main categories: user error and design error. As user errors tend to be more common and plentiful, that’s where we’ll begin.
Some of the reasons we’ll go into might seem obvious but there could be a few that you’ve never considered before so take note if you think one of these reasons could be the one affecting your sewing.

While you’re sewing, it’s sometimes necessary to help the fabric along by feeding it into the sewing machine. The best way to do this is slowly and gently as this will make for smoother and straighter stitches as well as a safer handling experience.
If you’re shoving fabric into your sewing machine too quickly or too aggressively, this can lead to the needle being forced out of its natural alignment which can cause it to hit the throat plate instead of the fabric. Continual strikes on the throat plate can lead to various degrees of needle damage including blunting and snapping.
This is one of the more obvious reasons why your needle might break, and is also very common. Especially for novice seamsters, it can be confusing knowing what type of needle to use for each project.
Using a needle that is too small will mean that it struggles to get through thicker fabrics or too many layers of fabric, and this can lead to the needle bending or breaking. Figuring out an appropriate length and thickness for each project beforehand will help to ensure your needle is able to penetrate the fabric sufficiently.

Before beginning the actual process of sewing, it is vital that you ensure your sewing machine is set up correctly according to its individual specifications. You also want to make sure that you do everything you can to insert your needle properly.
If the needle is not inserted all the way, it will likely be misaligned which will cause it to strike things it shouldn’t instead of having direct access to the fabric. This will also mean that it could be at an incorrect angle which will put increased pressure on it.
Buying quality sewing supplies can get expensive, especially if you’re sewing frequently or sewing a lot of different things. But it’s so important to ensure you’re using stable and suitable needles. If you begin a project with a dodgy needle that’s even slightly bent or damaged, you’re setting yourself up for problems.
Although most needles are of a high standard and can last a long time if looked after properly, older needles are more prone to breaking, as are ones with even minimal damage.
None of us are perfect and we’re all liable to make mistakes once in a while. Even the most experienced seamsters and tailors will have the odd accident happen. There are many different things we can forget about when we’re sewing so it’s so important to try and keep track of the material we’re working with.
If you’ve pinned your fabric for measuring and have forgotten to remove even one pin, this could lead to your needle breaking if it comes into contact with the pin. Things like metal clasps, buttons, zips, and rivets are also common culprits so try to be as mindful of them as you can when sewing.
The width of your foot attachment is a really crucial factor in ensuring safe sewing using your machine, and forgetting to adjust the foot for every different project can be a nightmare for your needles.
For example, using a foot that’s too narrow will only allow you to do certain kinds of stitch, for example, straight stitches. If you try to do a zigzag or a stretch stitch with a foot that’s only appropriate for straight stitches then your needle will not have the right space to work and will hit the foot, likely breaking in the process.
This is by no means an exhaustive list of user errors where needle breaking is concerned but these reasons are some of the most common. Below we’ll look at machine and design-based errors.

Although it might seem helpful when spools are designed with a little notch for holding thread steady, this design can actually be harmful when combined with machine sewing. If the spool is left horizontal then the thread can become caught in the otherwise handy notch, applying sudden and excessive tension that can be jarring for the sewing machine.
This act of pulling the thread tight very suddenly can lead to your needle snapping so it’s important to ensure that if you’re using this design of spool, you secure it vertically prior to beginning so that the thread does not get caught.
Although modern sewing machines are engineered to be pretty efficient and safe, there are times when an anomaly can cause damage. If your thread loops around the guide more than once, for example, this can cause additional resistance that can throw the balance of the machine out.
This can result in the needle being pulled out of position, leading it to strike parts of the machine that it wouldn’t normally such as the throat plate or bobbin case. This unusual striking can cause needle damage.
Some sewing machines will require a spool pin or cap to keep the spool steady whilst the machine is going. These small pieces of equipment can be extremely helpful in most cases.
However, faults do happen and if the spool is not held securely enough by the pin, the thread tension will be lax which can lead to damage happening. Using a spool cap can remedy this by holding the spool more tightly, however if there’s a gap between the cap and the pin, thread can become caught which can put pressure on the needle eye and lead to snapping.
Much as we would like all needles to be created equal, unfortunately this is not the case. Whether you buy needles from a cheaper brand or a brand you don’t normally buy from, or whether your usual brand has had a quality-control blip, it’s fairly common to end up with needles that are subpar.
Using a needle that is weak or has another fault that we can’t necessarily see can lead to it breaking easily during the sewing process, even if we do everything else right. Sometimes you just get a bad needle and there’s nothing you can do about it.
On first glance, it might be a bit alarming that majority of errors causing needles to break are our own fault. You might be thinking something like “how could I be so careless?” or “this whole time I wanted to throw my sewing machine out the window when the problem was me all along!”

But this is actually good news.
If most errors are down to us, then that means we’re in a better position to make sure they don’t happen again. Of course, it won’t always be possible to do everything exactly right, but knowing about the different mistakes we can make will help us to do better the next time round.
The bottom line is really just to take care of your sewing machine and it will take care of you. Make sure it’s clean, regularly oiled, and in good working condition before starting a project, and take your time with each step of the sewing process so you minimise risks and prolong the life of your needles.


My singer is frustrating me, the needle keeps hitting the presser plate. Have check thread feeds, needles but it continues.is there a way to adjust the needle bar back so will not hit presser plate.